When I first wrote this blog, little did I realize that it would be my most POPULAR Blog of all. I wanted to let other #authors out there realize they can design their own #bookcovers just like I did. So, without further adieu, I hope you enjoy this Blog, and it helps your own ideas. And then, a little "imp" got into me, and I wanted to do something totally different I have never seen another #author do.
I wanted to have a bit of fun with my books. Originally, it was an accident, but I decided to use it on ALL 3 of my books.
After you read the #blog, I #invite you to "Find the Wolf" on both books 1 & 2.
Good luck! And, thank you for reading it! ~~~ #lkkelley
I wanted to have a bit of fun with my books. Originally, it was an accident, but I decided to use it on ALL 3 of my books.
After you read the #blog, I #invite you to "Find the Wolf" on both books 1 & 2.
Good luck! And, thank you for reading it! ~~~ #lkkelley
I chose to design my own from scratch using my own, personal photos, and those of a couple of great photogs! Because of the cost to have someone else design it, and I despise the "pre-cover" designs which so many are using, I wanted it unique to my book, The White Wolf Prophecy ~ Mating ~ of the White Wolf Prophecy Trilogy. I wrote all three books at the same time, and it helped me decide my first book cover.
 |
| Book Cover Design for The White Wolf Prophecy ~ Mating ~
First, I decided what I wanted based upon the locations in my book, and the descriptions of my characters. In fact, in one case, I rewrote my hero's description to fit in with the man I chose to be the hero. It's pretty easy. I used Photoshop 9 for my book cover.
And, believe me! If I CAN DO IT, so can you! Step 1
#DESIGN #CONCEPTS
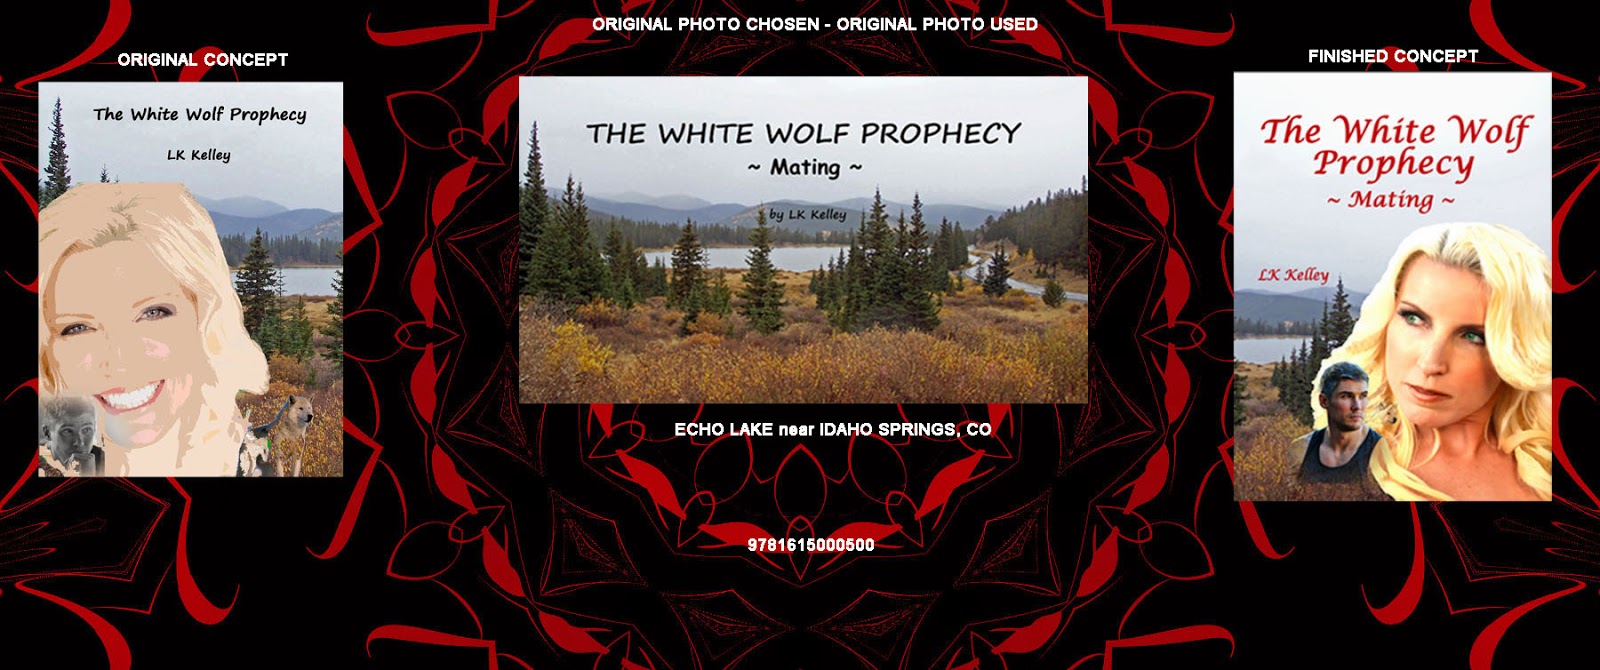
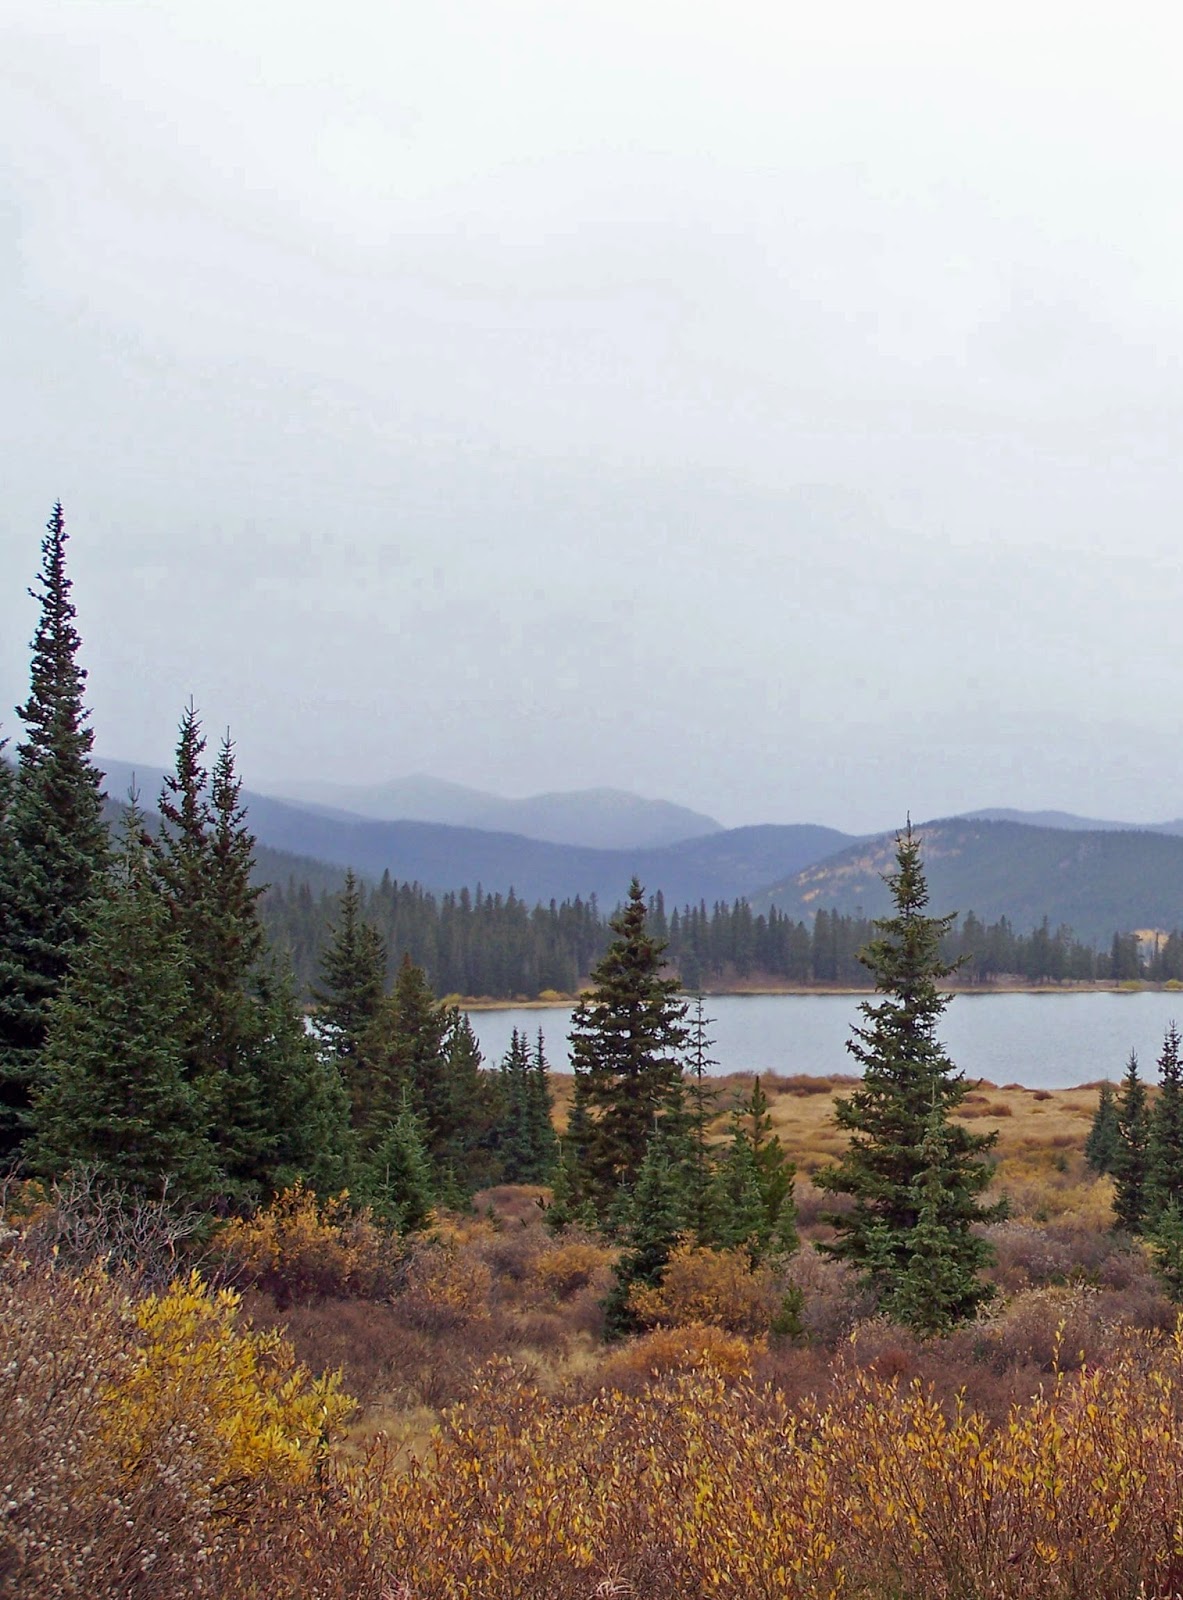
1. CHOOSING THE PHOTO: I was lucky enough to have taken many photos on a trip to Colorado. You can do the same thing by using one of your own photos even if it's not exactly in the book, you can make it work. I decided upon 3 photos. After deliberating for days, I decided upon photo #3 for its continuity. It was perfect. Step # 1 was done. |
 |
| #1 ~ Mt Evans |
 |
| #2 ~ Mt Evans |
 |
| #3 ~ Echo Lake |
The final concept was done for the front and the back of the book.
 |
| FRONT |
 |
| BACK
Step 2
Choosing #Character #Photos
|
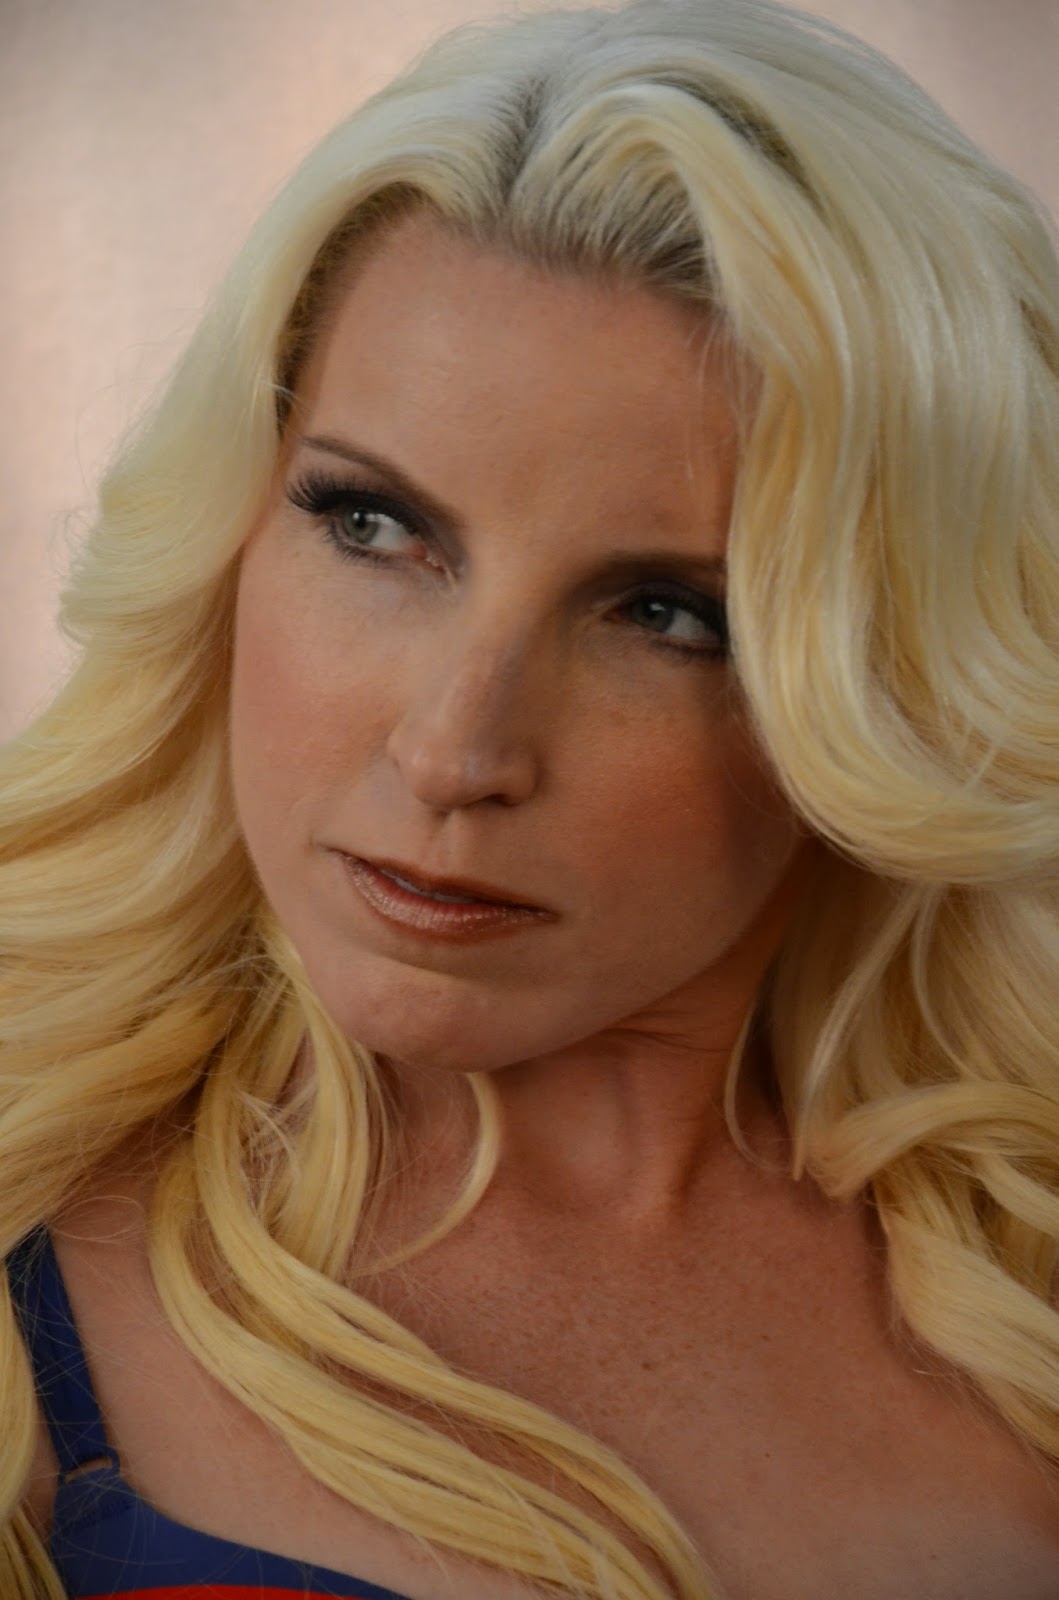
2. CHOOSING the concept design: This was a bit harder. I had to dig into my photo database to find just the right look. I wanted something that would match, as best as possible, the characters in the book. After a long search, I decided upon these.
 |
| CORDONE VALON |
| KAITLAN O'HARA
Next, I put my concepts together into 3 different ones.
|
 |
| #1 |
 |
| #2 |
 |
| #3 |
3. I had my background, I had my faces, and I finally had at least a working concept. Next, came Photo Shoots.
Step 3
#Photoshoots
Luckily, I just happened to have 2 people who were the PERFECT subjects. they were the same as in my original concept. These are the photos that I decided upon. First, Kaitlan O'Hara:
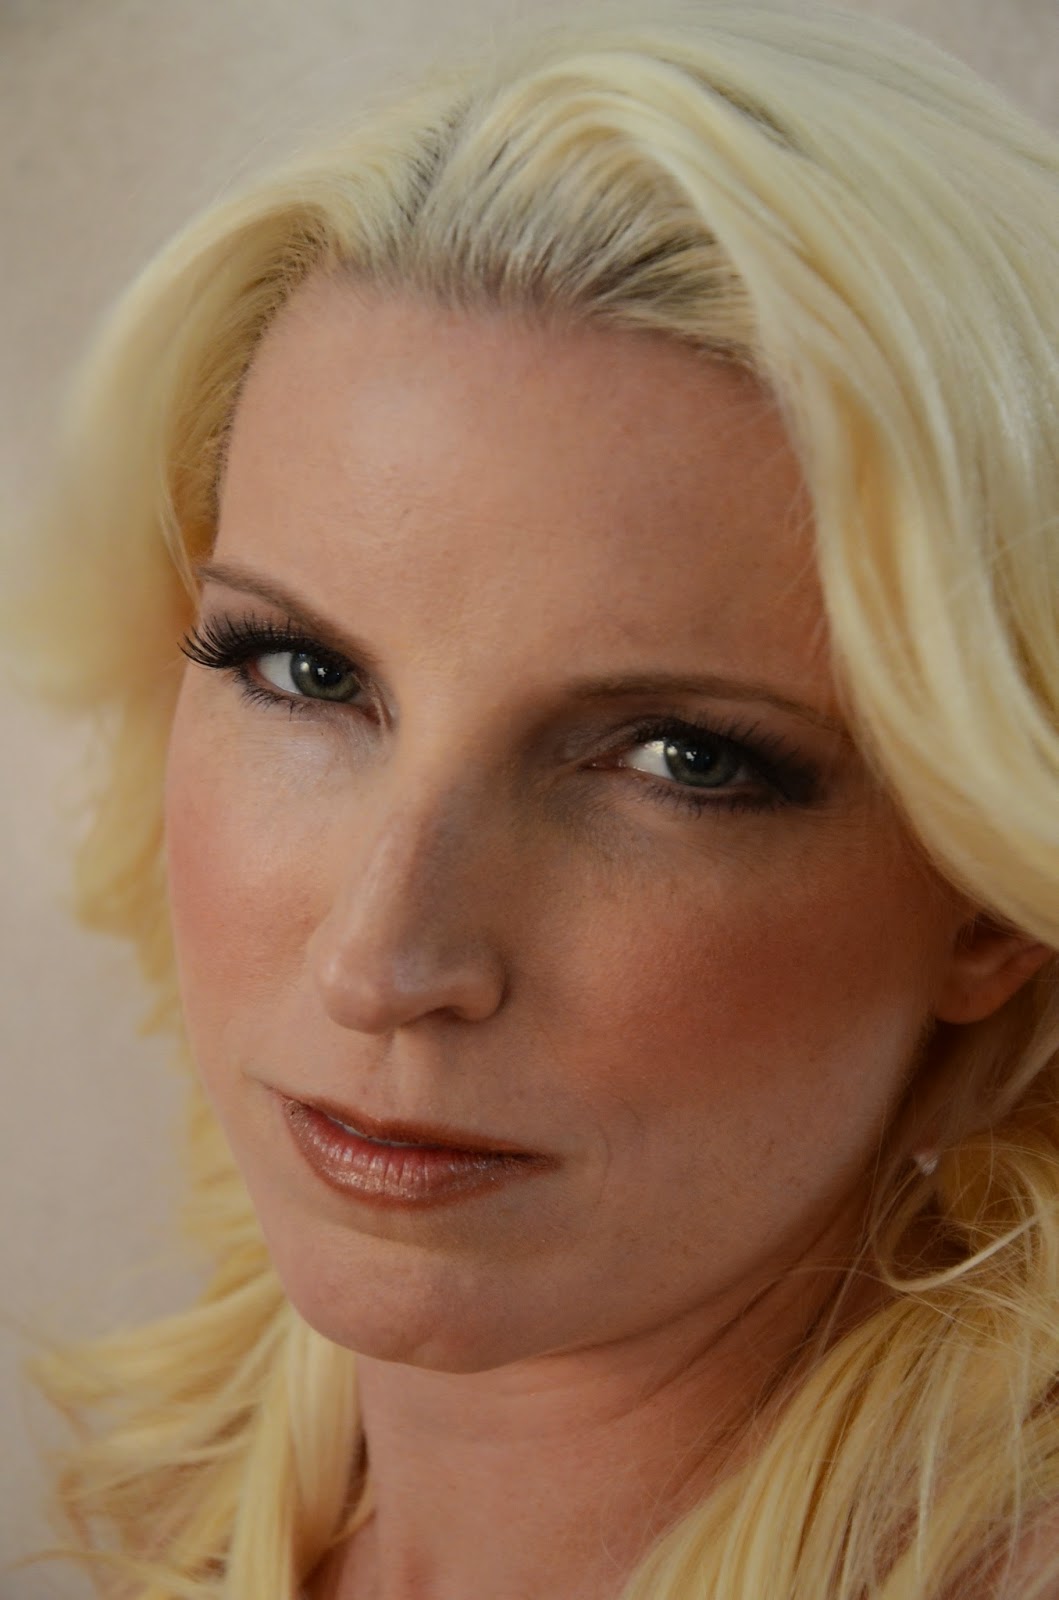 |
| #1 |
 |
| #2 Next, Cordone Valon: 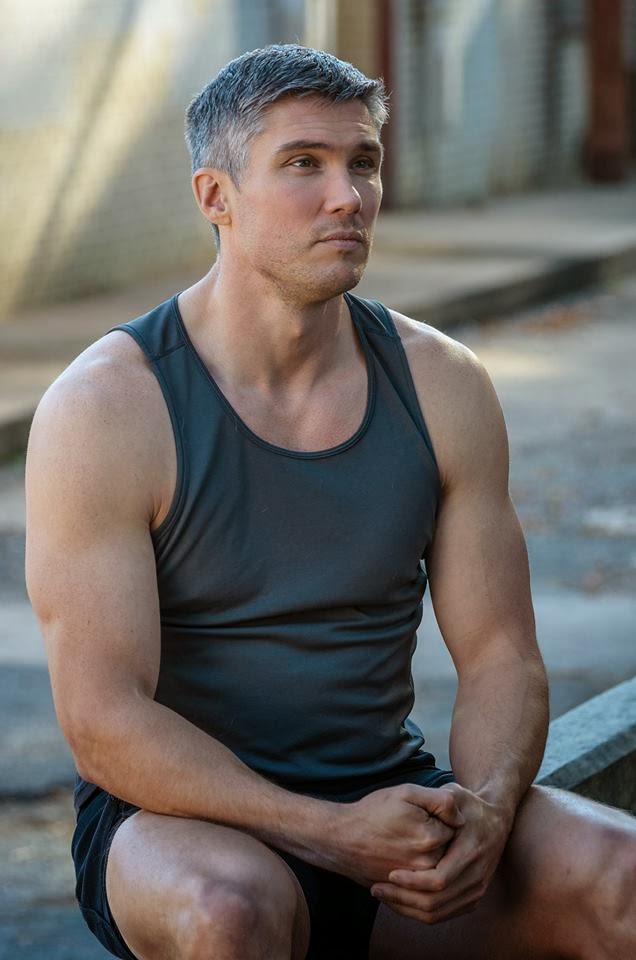 #1 #1 |
 #2
#2
After seeing these final choices, I chose Kaitlan # 2 and Cordone #2. Now, I had to remove the backgrounds of both. This, I believe, takes the longest time - especially when you have never done it before. I can't even count how many times I removed the backgrounds.
Step 4
#Assembling the #Final #Cover Design
4. After all of this, I had my faces, my photos, and all I needed to do was assemble the pieces together, and put a white wolf into it.
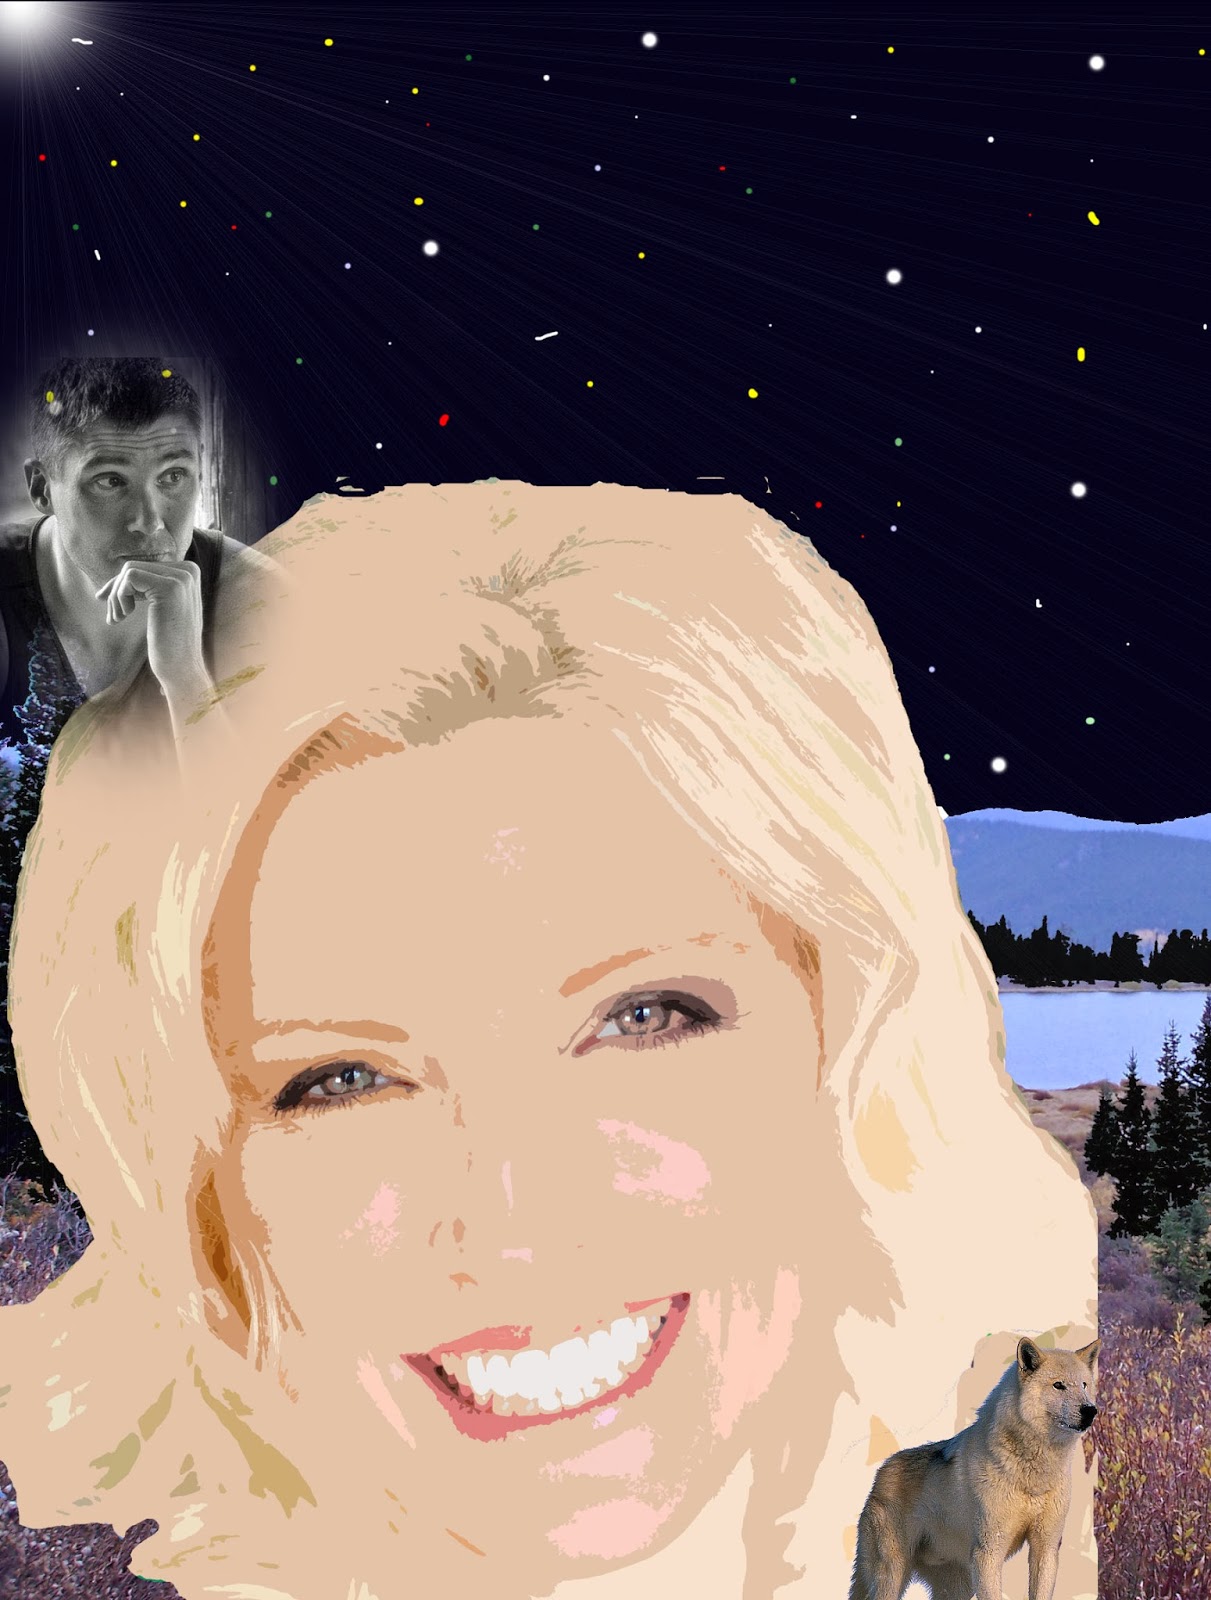
5. Again, and above, was my original concept. As you can see, I placed them on the left side of the cover. What I didn't realize was that the faces would be cut off on the spine of the book. So, I had to redesign the concept into a workable design. So, I reversed the photos when I was ready for my final design. But, then, I found another...
...HOLD THE PRESSES!
"DANGER WILL ROBINSON!"
HUGE OOPSIE AHEAD!
6. It was at this point that I thought I was almost done. All I needed to do was to put the name of the book, and my name. But, that was when I discovered, much to my dismay, after I had thought I finished, I realized I had put what should be the back half for the book of Echo Lake on the book's front! I was really irritated. Now, I had to go back and redo it to make it right. I'm going to admit to you that I was so angry at myself, I almost threw it out the window, and I was actually tempted to leave it as it was. But, my gut, and my penchant for excellence, was telling me that I was taking the easy way out, and so, I redid the front - again. But, I closed it all out, and didn't bother to come back to it until a few days later, simply because I didn't need to still have anger at myself.
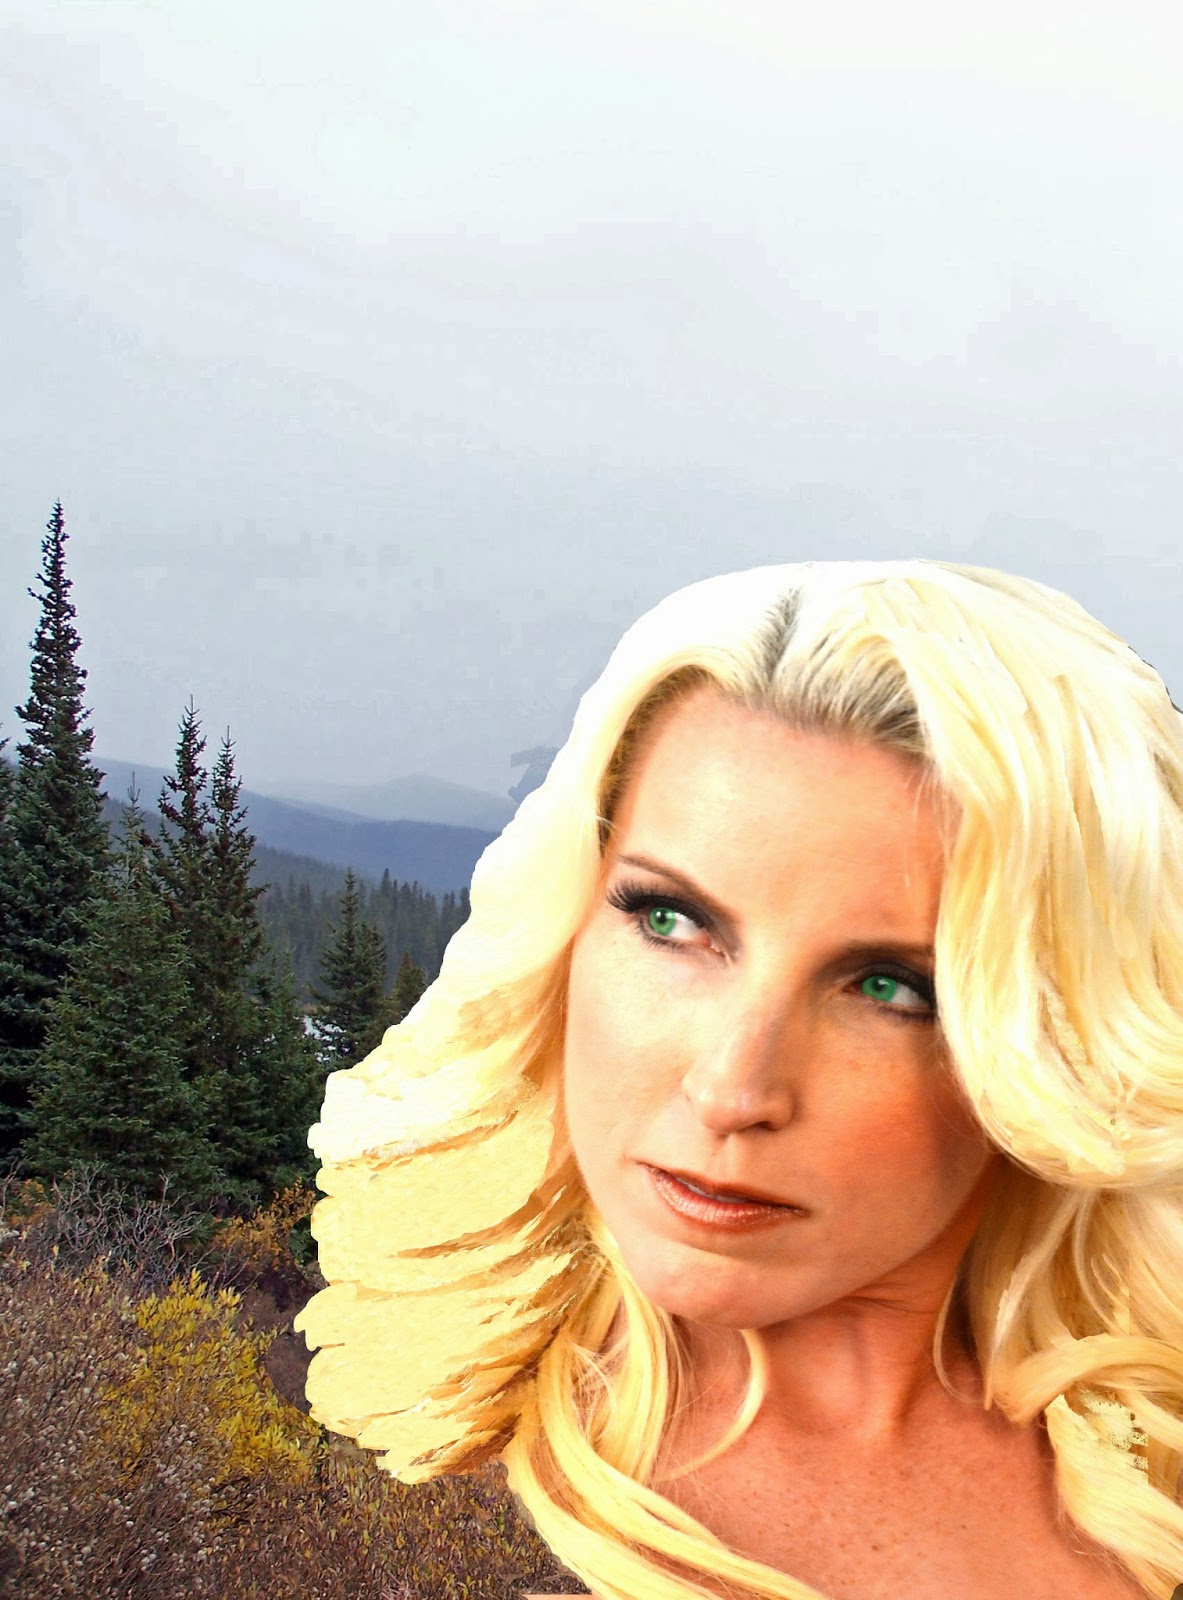
7. After a few days, I came back, and did it all over, again. This time, though, I went slowly to make sure I had it right. And, voila! I had it! I almost danced all over my house in glee! Until my #publisher told me that I needed to move Kaitlan's face over, and Cordone up a bit, because the characters would have their faces and hair partially removed. So, here I went again! I had to start again. But, this time, I got it right!
 |
| FINAL CONCEPT DESIGN |
Step 5
FINISHING TOUCHES
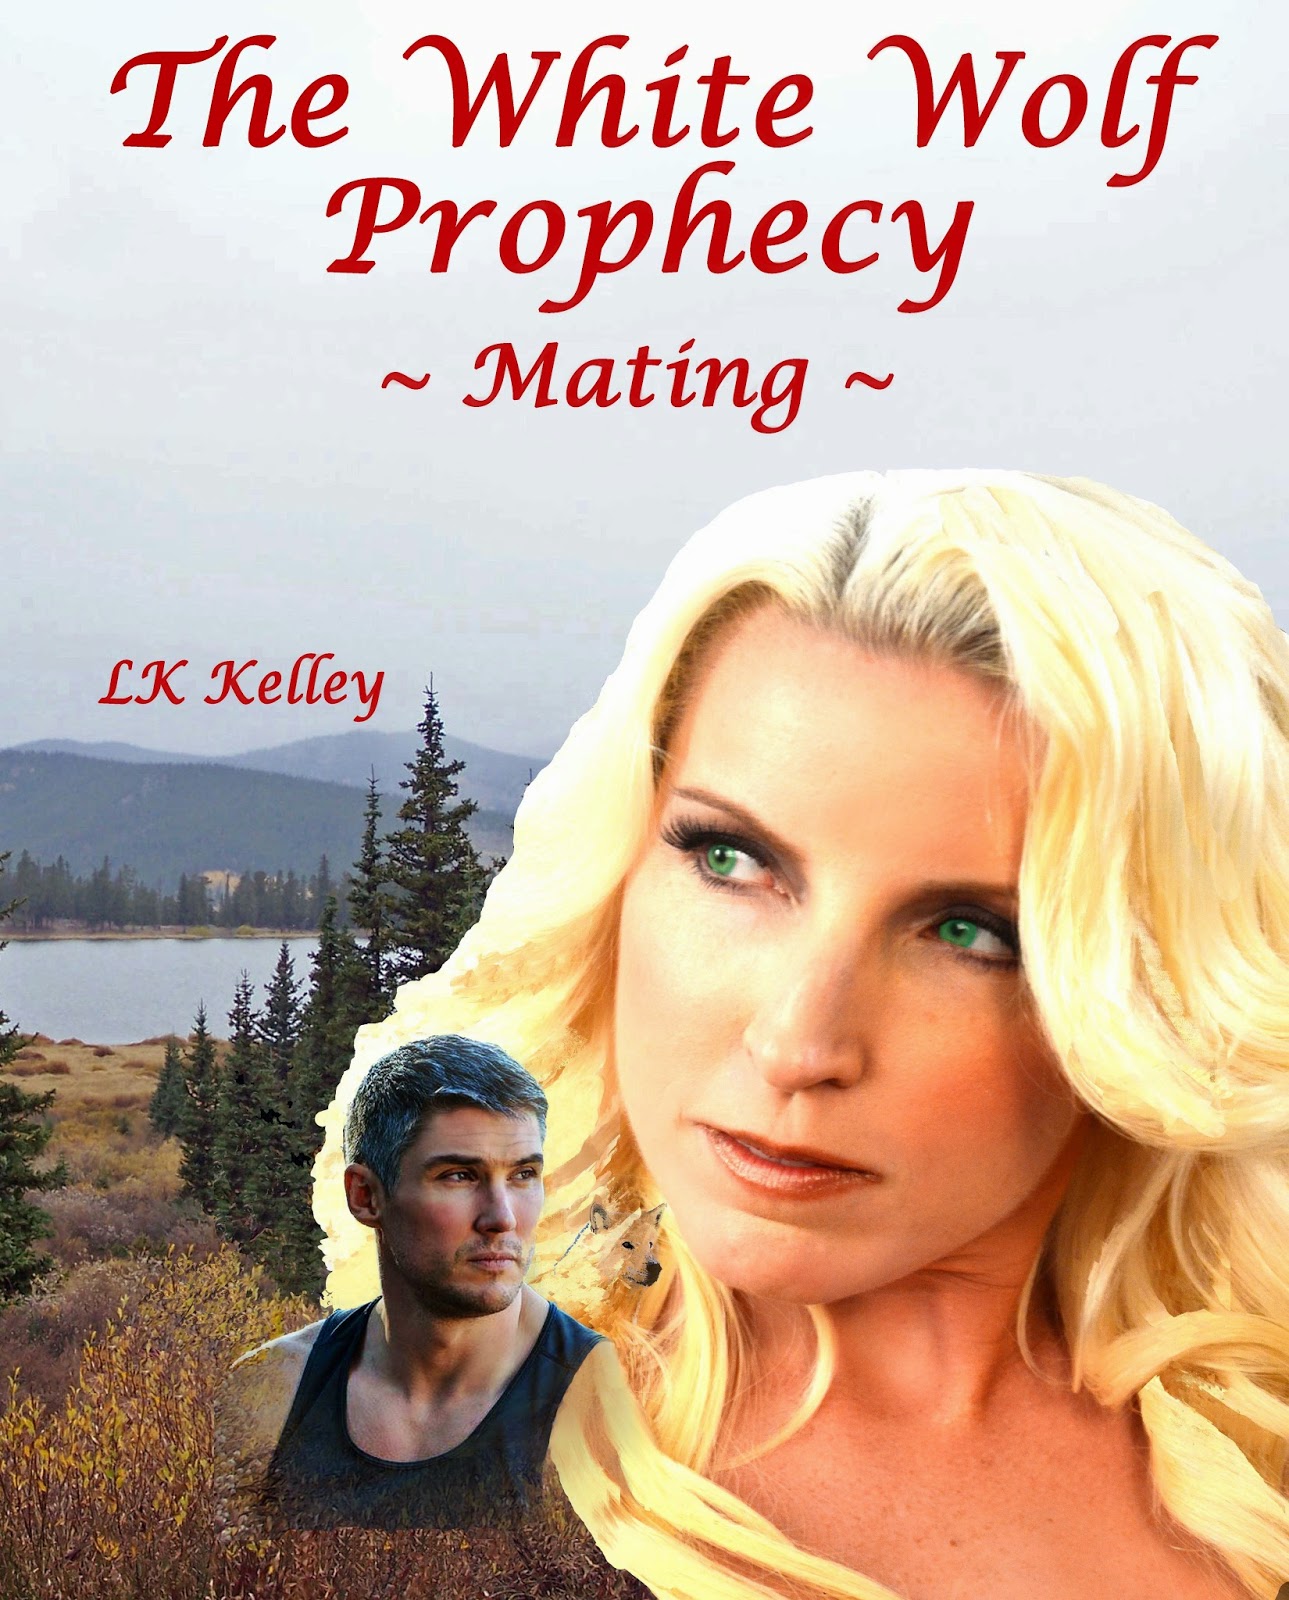
8. So, I slapped the Title of my Book and my name on the book, and then realized I didn't know what font I wanted to use. I experimented for a couple of days with different fonts, finally deciding upon one, and I was finally finished. Saving it to 600 dpi, and 8.50 x 11.50 inches, I was finally finished, and off it went to the publisher. But, it didn't end there. There were a couple more redos, because of the placement of the Title that was too big, and my name wasn't big enough. But, these didn't take too long, and I was finally done, and the publisher was totally impressed by the final product!
And, here is the finished product:
What Did I Learn by
Designing My Book Cover?
- Pay attention to the placement on the book of photos
- Save #photos to 600 DPI @ 11.50 x 8.50
- Pay attention to the spine of the book cover
- Have really great #photoshoots, or at least excellent photos already taken, and save each one of them to 600 DPI
- When I had a good design, I saved the basics of that design so I could use it, and alter it if needed saving each of those as a separate file as well.
- I also learned to save photos with no backgrounds especially if I changed anything at all.
I know that not everyone is able to design their own cover, they just don't want to take the time hiring it done, or just pick a stock book cover. But, I wanted my book cover to be different than everyone else's out there.
Just like my book, it's unique. My characters are a completely new concept to the supernatural world, and are just as unique. I wanted the same for my cover. If you look just above Cordone's right shoulder and into Kaitlan's hair, you will see a "ghost" of a White Wolf.
This was actually a lot of fun - designing a book cover! Fun, exciting, and not only am I proud of the story within the cover, but my cover is totally unique, and I did it!
The next book is being edited as I write this, and I am also about to design my cover for the second book in The White Wolf Prophecy Trilogy!
UPDATE

UPDATE 3
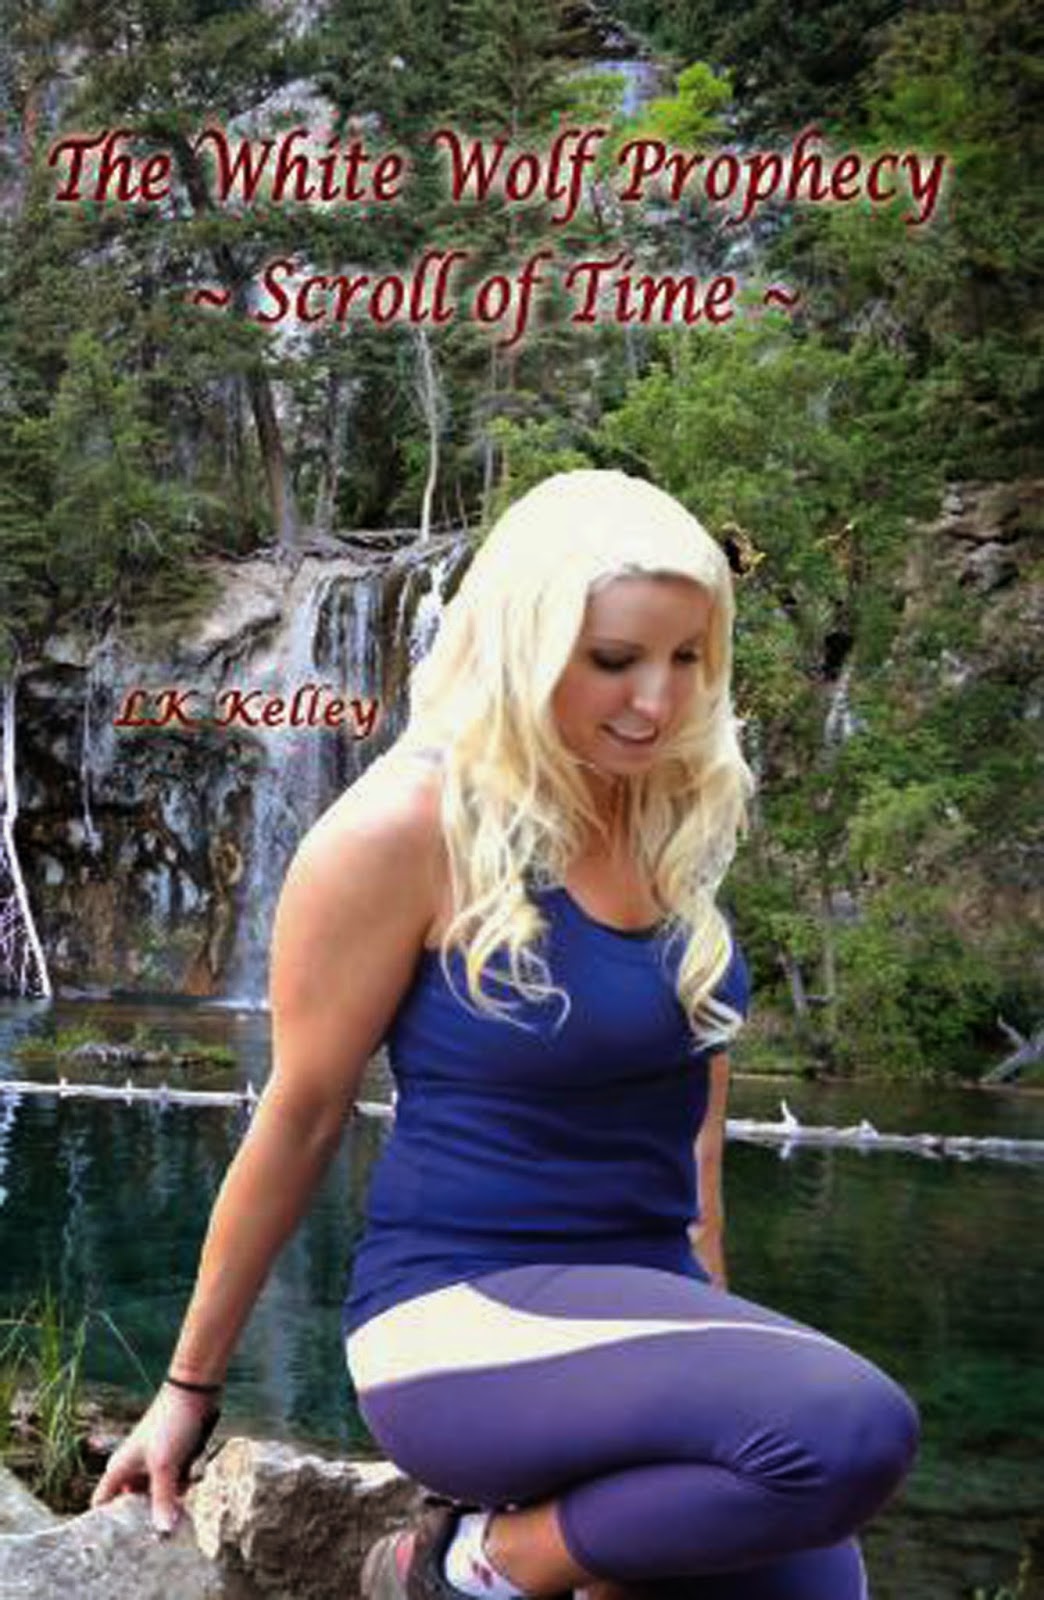
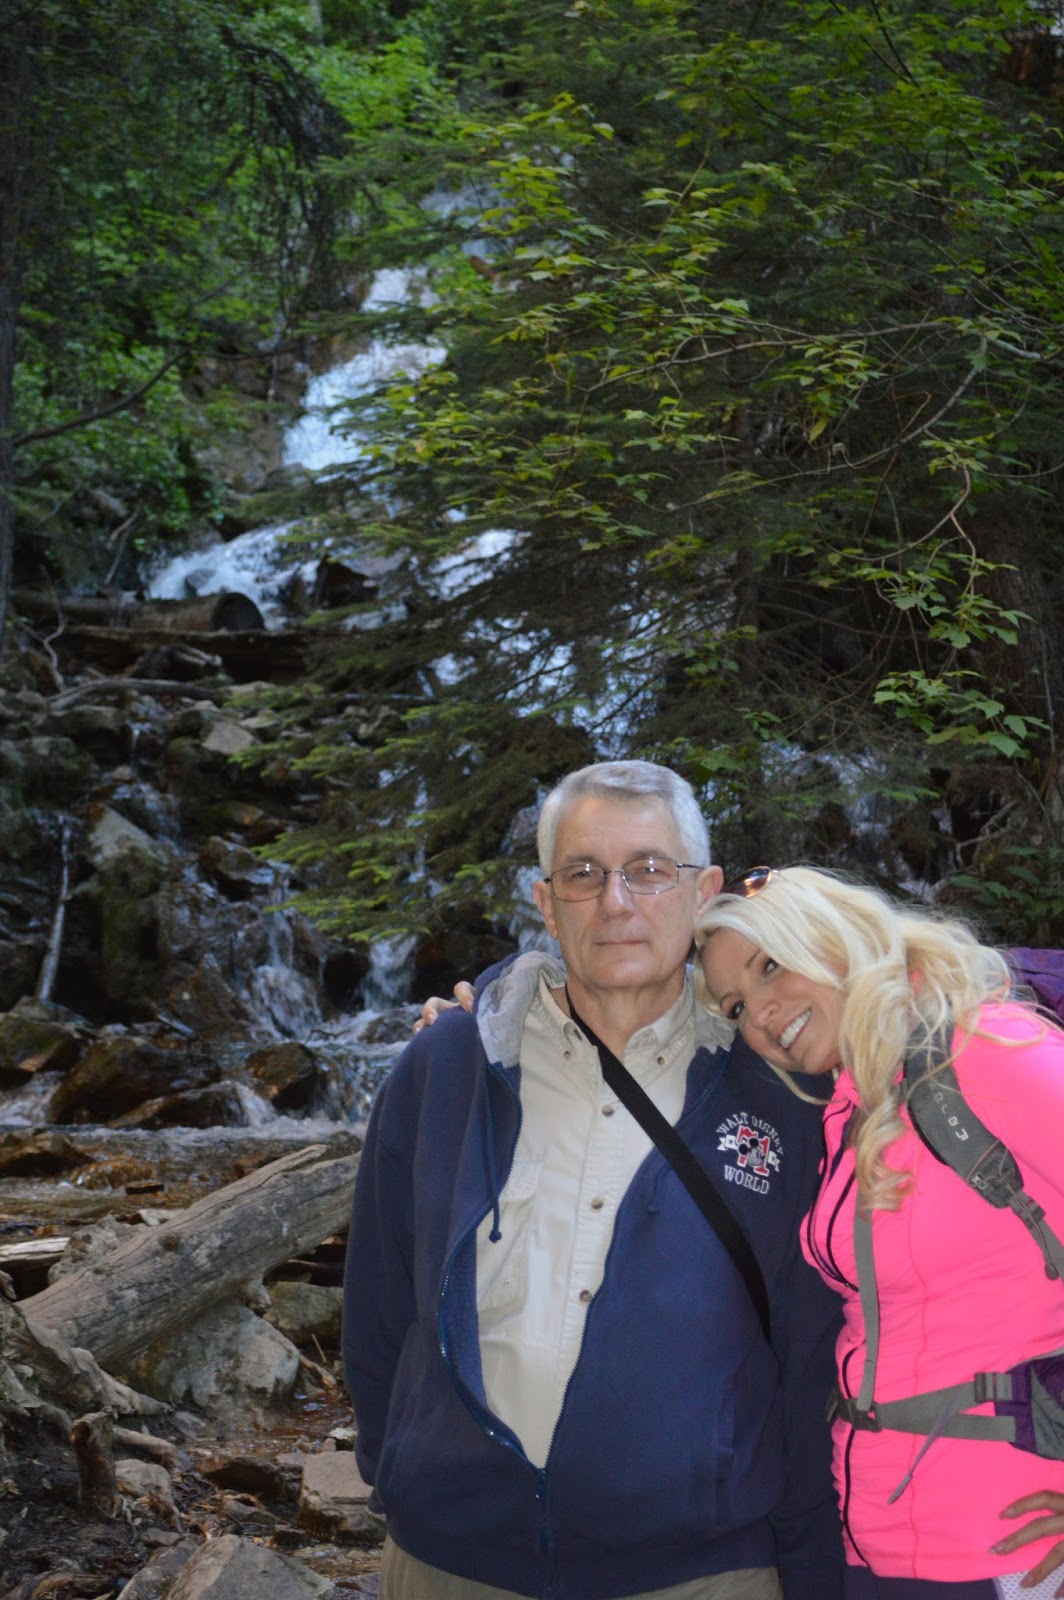
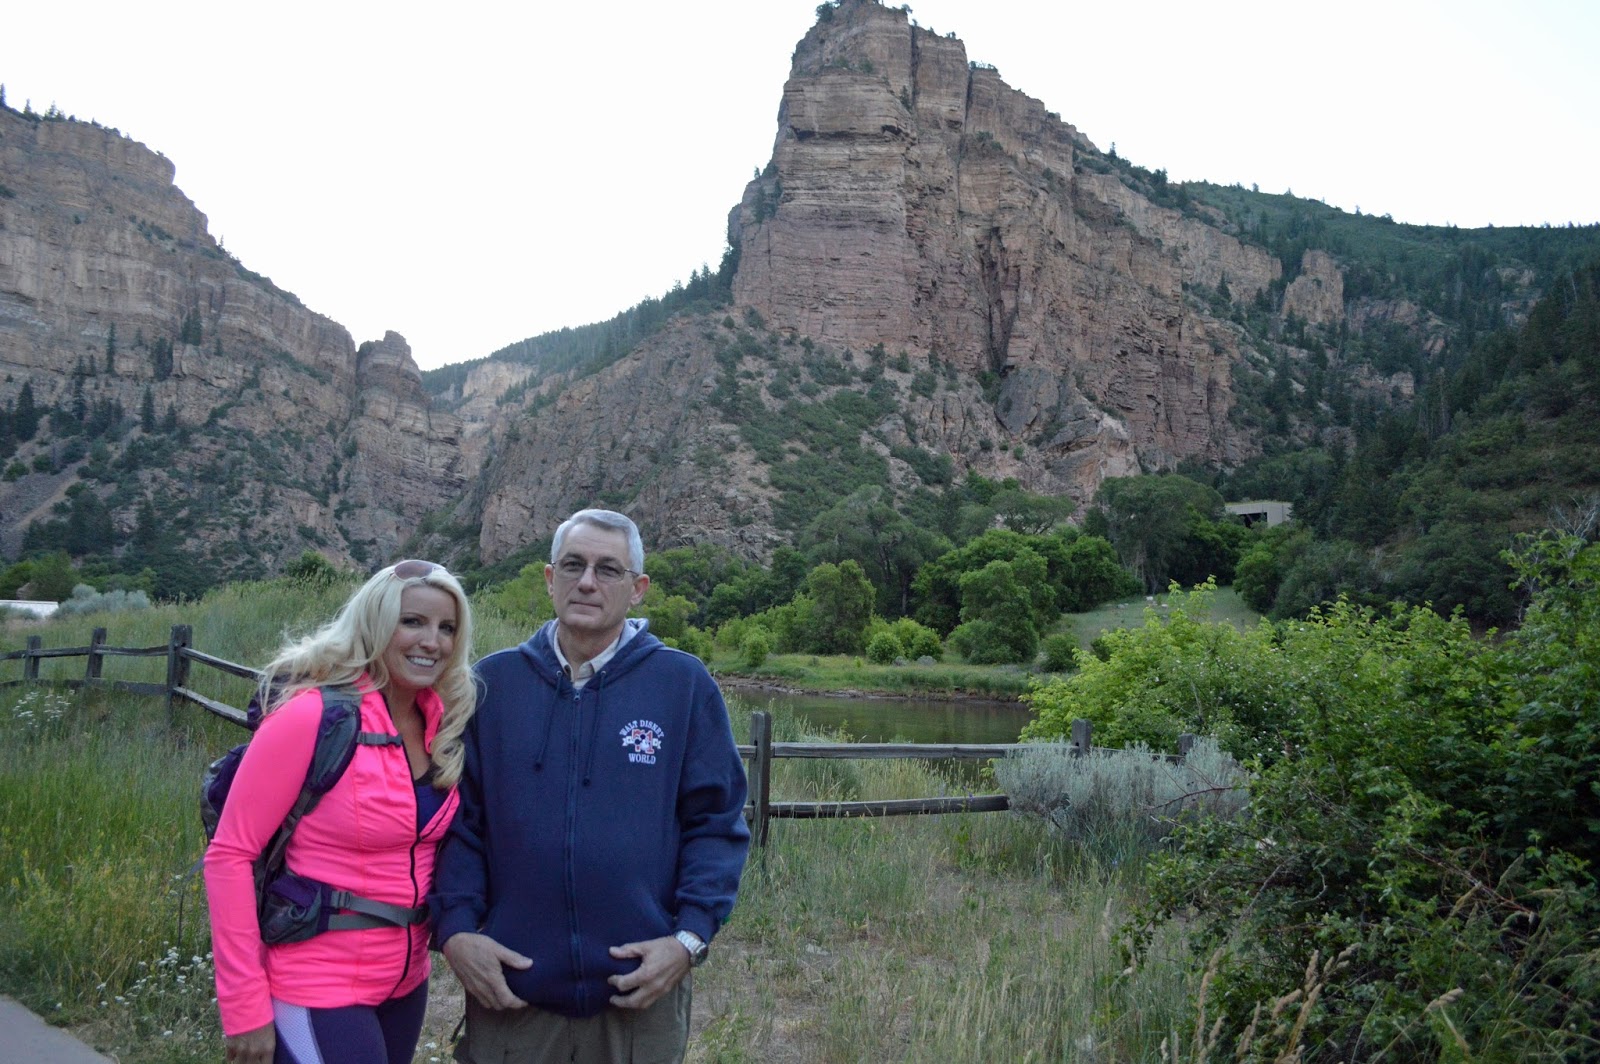
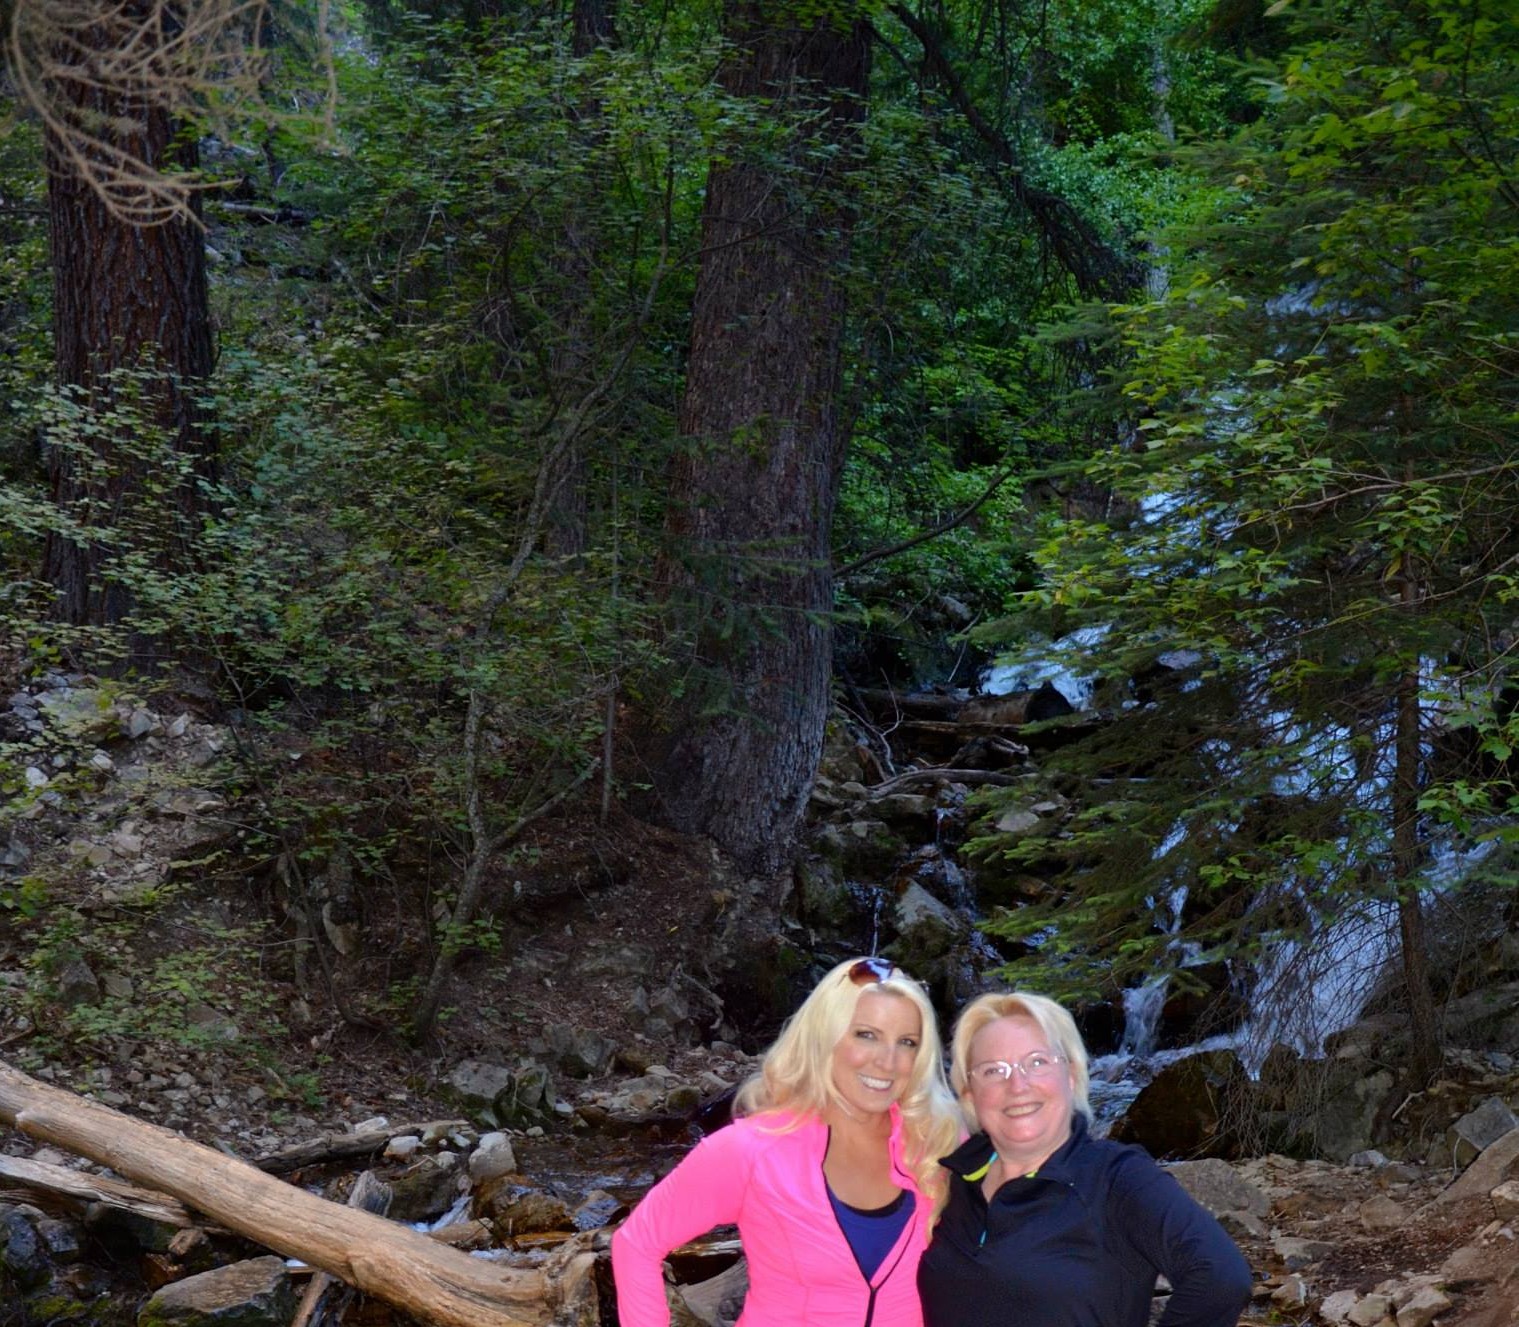
This is the final book of the White Wolf Prophecy Trilogy. For this book, I had one place, and ONLY one place in mind! It reminded me of my vision of the amazing Secret Pool in book #1. This photo was taken by me with my amazing Character, Kaitlan Seneca O'Hara Valon (aka: Laura Kelley). To get this photo was a huge undertaking. It began by leaving Arvada, CO, on June 24th, 2014, travelling to Glenwood Springs, CO, where we stayed overnight so that we could get n early start walking 1 1/2 miles up to Hanging Lake, CO. This place is like no other anywhere! 1 1/2 miles seems easy - except it was virtually straight up hiking, and took us a couple of hours to hike. Below you will find some of the Promo photos that I took with not only Kaitlan, but her Father, Canaan as well as me. I won't go into the fact that I don't like to be in pics, but I love to take them. However, I had a SPECIFIC pose in mind from the 3rd book, and we tried to capture it. The last photo shows the photo that I would use as the final cover.


The photo below is the photo I chose for my final book cover. It is exactly as I imagined it, and I couldn't be more happy with it! Putting it together was even faster than the first two, because, by now, I was experienced in the design process. No. I'm not a professional, and would never say that I was. But, as I said at the first...I wanted a UNIQUE design for all 3 books that no one else had. And, I had tons of fun doing it!

#whitewolfprophecy
#lkkelley
#whitewolfprophecyblog
You can purchase my book right here, as well as at book stores around the area.
Don't forget to #followme on #Twitter for #updates!
Also, #subscribe to my #blogs for regular Exclusives, and fun information!
#checkout my #website, too!
#Follow my Googleplus #fan & #author pages.
And, other countries on Amazon in Japan, Spain and Italy. Others are coming, so check Amazon out where you live!
#werewolf #werewolves #vampires #paranormal #fantasy #werewolfromance #elves #lkkelley #paranormalromance #sciencefiction #whitewolfprophecy #978165000500 #romance #books #bookcover #bookcoverdesign #blog #hallofrecords #colorado #amazon #barnesandnoble #bam #usa #fortsmitharkansas #arkansas #authors #writers
Thanks to:
NOTE: ALL PHOTOS ARE COPYRIGHTED BY THE AUTHOR, LK KELLEY, 2013
Any use must be obtained by the author. Thank you.
© LK Kelley
No comments:
Post a Comment